Intro
Master deleting worksheets in Excel VBA with ease. Learn how to automate worksheet deletion using VBA code, including how to delete multiple worksheets, prompt for confirmation, and avoid errors. Discover best practices for efficient worksheet management and streamline your Excel workflow with this comprehensive guide.
Deleting worksheets in Excel VBA can be a daunting task, especially for those new to programming. However, with the right guidance, it can be made easy. In this article, we will delve into the world of Excel VBA and explore the various methods of deleting worksheets.
Why Delete Worksheets in Excel VBA?
Before we dive into the nitty-gritty of deleting worksheets, let's first discuss why you might need to do so. Deleting worksheets in Excel VBA can be useful in a variety of situations, such as:
- Automating tasks: By deleting worksheets, you can automate tasks that would otherwise require manual intervention.
- Cleaning up workbooks: Deleting unnecessary worksheets can help declutter your workbook and make it more manageable.
- Creating templates: Deleting worksheets can be useful when creating templates, as it allows you to remove any unnecessary sheets.
Methods for Deleting Worksheets in Excel VBA
There are several methods for deleting worksheets in Excel VBA. Here are a few:
Delete Worksheet Method
The Delete Worksheet method is a straightforward approach to deleting worksheets. This method involves using the Delete method of the Worksheet object.
Sub DeleteWorksheet()
    Dim ws As Worksheet
    Set ws = ThisWorkbook.Worksheets("Sheet1")
    ws.Delete
End Sub
In this example, we first declare a Worksheet object variable ws and set it to the worksheet we want to delete. We then use the Delete method to delete the worksheet.
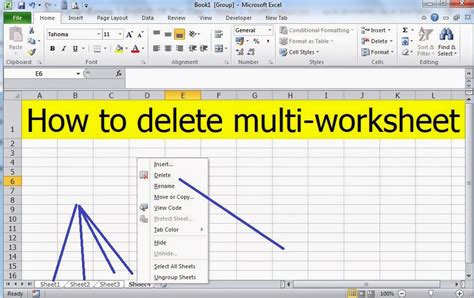
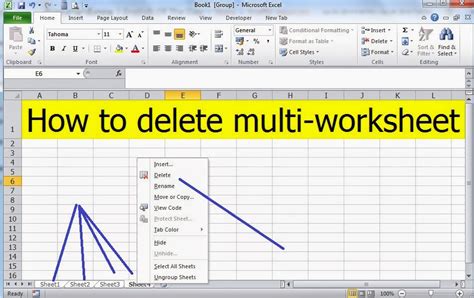
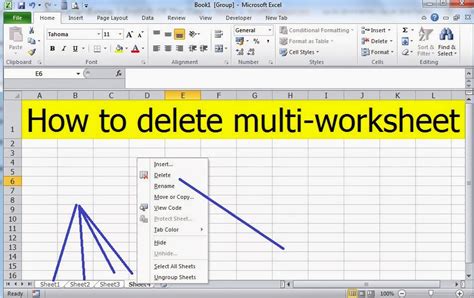
Deleting Multiple Worksheets
Deleting multiple worksheets can be a bit more complicated than deleting a single worksheet. However, it can be achieved using a loop.
Sub DeleteMultipleWorksheets()
    Dim ws As Worksheet
    For Each ws In ThisWorkbook.Worksheets
        If ws.Name = "Sheet1" Or ws.Name = "Sheet2" Then
            ws.Delete
        End If
    Next ws
End Sub
In this example, we use a For Each loop to iterate over all the worksheets in the workbook. We then use an If statement to check if the worksheet name matches the ones we want to delete. If it does, we use the Delete method to delete the worksheet.
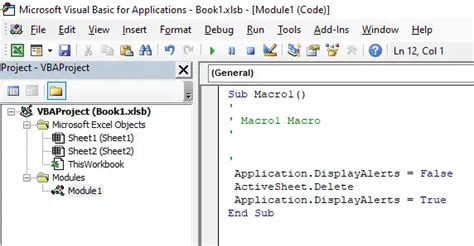
Delete Method with Application.DisplayAlerts
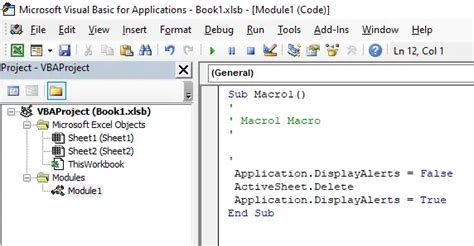
Another approach to deleting worksheets is to use the Delete method in conjunction with Application.DisplayAlerts. This method allows you to suppress the alert that appears when deleting a worksheet.
Sub DeleteWorksheetWithAlert()
    Application.DisplayAlerts = False
    ThisWorkbook.Worksheets("Sheet1").Delete
    Application.DisplayAlerts = True
End Sub
In this example, we first set Application.DisplayAlerts to False, which suppresses the alert. We then use the Delete method to delete the worksheet. Finally, we set Application.DisplayAlerts back to True.
Common Errors When Deleting Worksheets
When deleting worksheets, there are a few common errors to watch out for:
- Attempting to delete a worksheet that does not exist.
- Attempting to delete a worksheet that is protected.
- Not suppressing the alert when deleting a worksheet.
To avoid these errors, make sure to check if the worksheet exists before attempting to delete it. You can also use Application.DisplayAlerts to suppress the alert.
Gallery of Delete Worksheet Methods
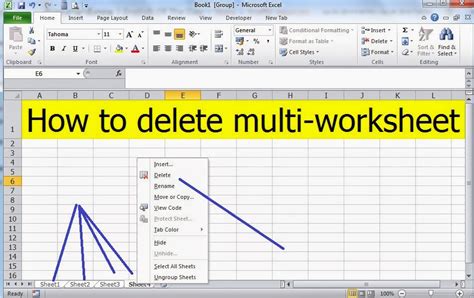
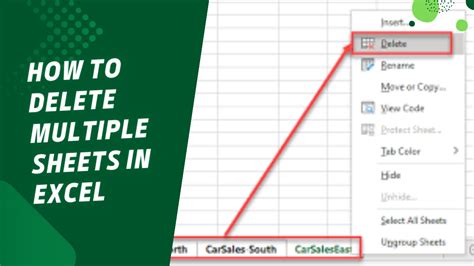
Delete Worksheet Methods Gallery
Conclusion
Deleting worksheets in Excel VBA can be a straightforward task, but it requires attention to detail. By following the methods outlined in this article, you can ensure that your worksheets are deleted efficiently and effectively. Remember to check if the worksheet exists before attempting to delete it, and use Application.DisplayAlerts to suppress the alert. With practice and patience, you can master the art of deleting worksheets in Excel VBA.
