Intro
Automate your email tasks with Excel! Discover 5 ways to send email from Excel automatically, using VBA macros, Outlook integration, and more. Boost productivity and efficiency by sending emails directly from your spreadsheets, with techniques for email automation, mass emails, and email notifications, using Excels powerful features.
Sending emails from Excel can be a game-changer for businesses and individuals who need to communicate with others on a regular basis. Whether you're sending reports, invoices, or updates, automating the process can save you time and increase productivity. In this article, we'll explore five ways to send email from Excel automatically.
Why Automate Email Sending from Excel?
Before we dive into the methods, let's discuss the benefits of automating email sending from Excel. By automating this process, you can:
- Save time and reduce manual labor
- Increase accuracy and reduce errors
- Improve communication with clients, customers, or team members
- Enhance productivity and focus on more important tasks
Method 1: Using VBA Macros
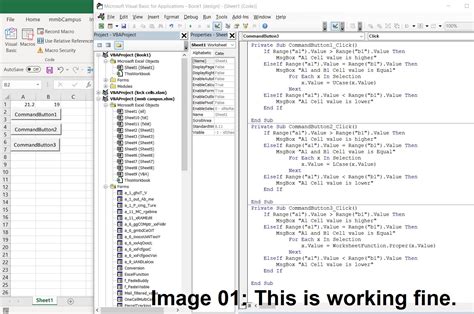
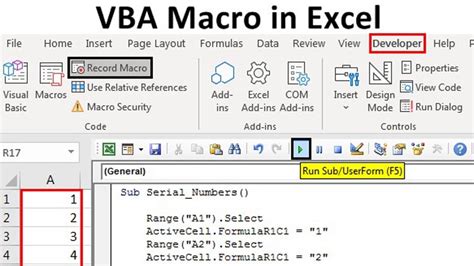
One way to send emails from Excel automatically is by using VBA (Visual Basic for Applications) macros. VBA is a programming language used to create and automate tasks in Microsoft Office applications, including Excel.
To send emails using VBA macros, you'll need to:
- Open the Visual Basic Editor in Excel by pressing Alt + F11 or navigating to Developer > Visual Basic.
- Create a new module by clicking Insert > Module.
- Write the VBA code to send the email using the Outlook object model.
- Save the module and close the Visual Basic Editor.
- Run the macro by clicking Developer > Macros or pressing Alt + F8.
Here's an example VBA code to send an email using Outlook:
Sub SendEmail()
    Dim olApp As Object
    Set olApp = CreateObject("Outlook.Application")
    Dim olMail As Object
    Set olMail = olApp.CreateItem(0)

    With olMail
       .To = "recipient@email.com"
       .Subject = "Automated Email from Excel"
       .Body = "Hello, this is an automated email from Excel."
       .Send
    End With

    Set olMail = Nothing
    Set olApp = Nothing
End Sub
Method 1: Using VBA Macros - Pros and Cons
Pros:
- Highly customizable
- Can be used with multiple email clients
- Can automate complex tasks
Cons:
- Requires programming knowledge
- Can be time-consuming to set up
- May require additional security settings
Method 2: Using Excel Add-ins
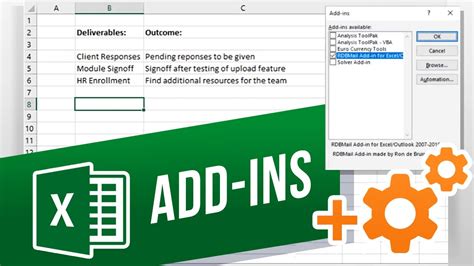
Another way to send emails from Excel automatically is by using add-ins. Add-ins are software programs that integrate with Excel to provide additional features and functionality.
Some popular Excel add-ins for sending emails include:
- Mail Merge for Excel
- Email Sender for Excel
- Excel Email Sender
To use an Excel add-in to send emails, you'll typically need to:
- Download and install the add-in
- Activate the add-in in Excel
- Configure the add-in settings
- Use the add-in to send emails
Here's an example of how to use the Mail Merge for Excel add-in:
- Download and install the Mail Merge for Excel add-in.
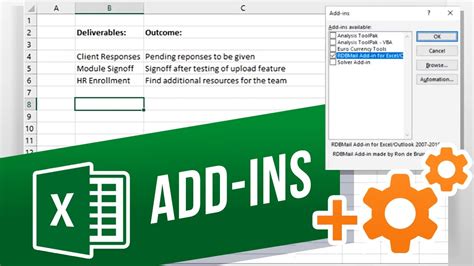
- Activate the add-in in Excel by clicking File > Options > Add-ins.
- Configure the add-in settings by clicking Mail Merge > Settings.
- Use the add-in to send emails by clicking Mail Merge > Send Email.
Method 2: Using Excel Add-ins - Pros and Cons
Pros:
- Easy to use
- No programming knowledge required
- Can automate simple tasks
Cons:
- Limited customization options
- May require additional software installation
- Can be expensive
Method 3: Using Power Automate (formerly Microsoft Flow)
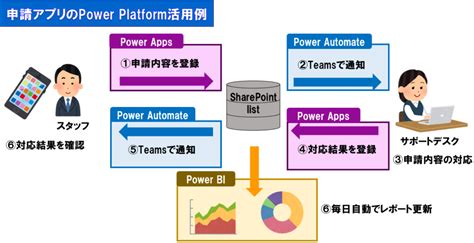
Power Automate (formerly Microsoft Flow) is a cloud-based workflow automation tool that allows you to automate tasks across multiple applications, including Excel.
To send emails using Power Automate, you'll need to:
- Create a new flow by clicking + New flow.
- Add the Excel connector to the flow.
- Configure the Excel connector settings.
- Add the Send an email action to the flow.
- Configure the Send an email action settings.
Here's an example of how to create a flow to send an email using Power Automate:
- Create a new flow by clicking + New flow.
- Add the Excel connector to the flow by clicking + Add an action > Excel.
- Configure the Excel connector settings by clicking Connect > Excel.
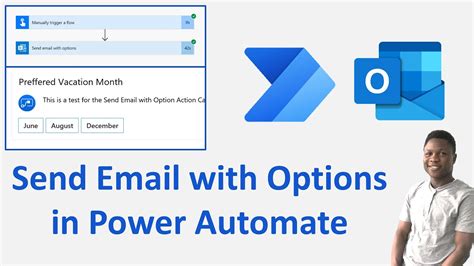
- Add the Send an email action to the flow by clicking + Add an action > Send an email.
- Configure the Send an email action settings by clicking Connect > Send an email.
Method 3: Using Power Automate - Pros and Cons
Pros:
- Highly customizable
- Can automate complex tasks
- Integrates with multiple applications
Cons:
- Requires cloud-based account
- Can be time-consuming to set up
- May require additional security settings
Method 4: Using Zapier
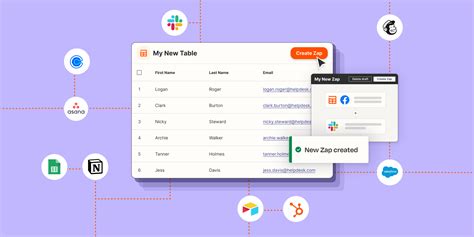
Zapier is a cloud-based automation tool that allows you to automate tasks across multiple applications, including Excel.
To send emails using Zapier, you'll need to:
- Create a new Zap by clicking + Create a Zap.
- Add the Excel connector to the Zap.
- Configure the Excel connector settings.
- Add the Send an email action to the Zap.
- Configure the Send an email action settings.
Here's an example of how to create a Zap to send an email using Zapier:
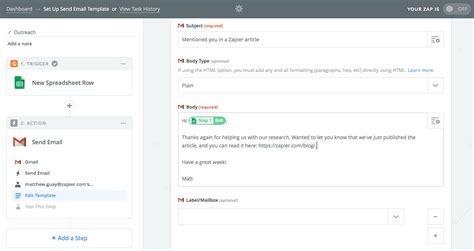
- Create a new Zap by clicking + Create a Zap.
- Add the Excel connector to the Zap by clicking + Connect an account > Excel.
- Configure the Excel connector settings by clicking Connect > Excel.
- Add the Send an email action to the Zap by clicking + Add an action > Send an email.
- Configure the Send an email action settings by clicking Connect > Send an email.
Method 4: Using Zapier - Pros and Cons
Pros:
- Highly customizable
- Can automate complex tasks
- Integrates with multiple applications
Cons:
- Requires cloud-based account
- Can be time-consuming to set up
- May require additional security settings
Method 5: Using Email Marketing Software

Email marketing software can also be used to send emails from Excel automatically. Some popular email marketing software includes:
- Mailchimp
- Constant Contact
- Campaign Monitor
To use email marketing software to send emails from Excel, you'll typically need to:
- Connect your Excel spreadsheet to the email marketing software using an API or CSV import.
- Configure the email marketing software settings.
- Create an email campaign using the email marketing software.
- Send the email campaign using the email marketing software.
Here's an example of how to use Mailchimp to send an email campaign:
- Connect your Excel spreadsheet to Mailchimp using the Mailchimp API.
- Configure the Mailchimp settings by clicking Account > Settings.
- Create an email campaign using Mailchimp by clicking Campaigns > Create Campaign.
- Send the email campaign using Mailchimp by clicking Campaigns > Send.
Method 5: Using Email Marketing Software - Pros and Cons
Pros:
- Easy to use
- Highly customizable
- Integrates with multiple applications
Cons:
- Requires additional software installation
- Can be expensive
- May require additional security settings
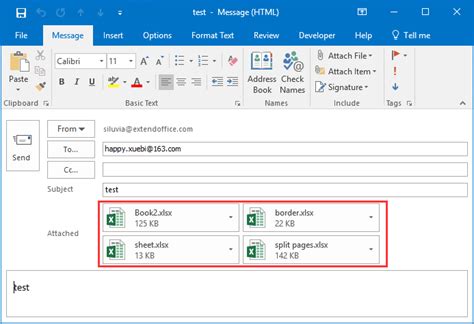
Email Sending from Excel Image Gallery

We hope this article has helped you understand the different ways to send email from Excel automatically. Whether you choose to use VBA macros, Excel add-ins, Power Automate, Zapier, or email marketing software, automating email sending can save you time and increase productivity.
