
Intro
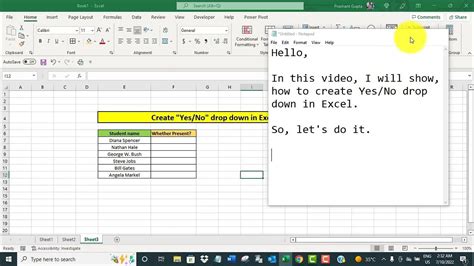
Creating a yes/no dropdown in Excel can be a great way to simplify data entry and reduce errors. Whether you're working with a large dataset or a small one, having a dropdown list with clear options can make a big difference in the accuracy and efficiency of your work. In this article, we'll explore five different ways to create a yes/no dropdown in Excel, along with their respective benefits and drawbacks.
Why Use a Yes/No Dropdown in Excel?
Before we dive into the different methods, let's quickly cover why using a yes/no dropdown in Excel is a good idea. Here are a few benefits:
- Reduced errors: By limiting the options to just "yes" and "no", you can minimize the chances of incorrect data entry.
- Improved data consistency: A dropdown list ensures that the data is entered in a consistent format, making it easier to analyze and report on.
- Faster data entry: With a dropdown list, users can quickly select the desired option without having to type it in manually.
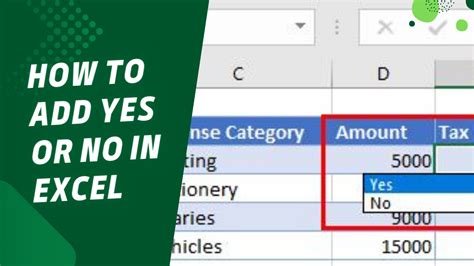
Method 1: Using Data Validation
One of the most straightforward ways to create a yes/no dropdown in Excel is by using data validation.
- Select the cell where you want to create the dropdown list.
- Go to the "Data" tab in the ribbon and click on "Data Validation".
- In the "Data Validation" dialog box, select "List" from the "Allow" dropdown menu.
- In the "Source" field, enter the following formula:
="yes,no" - Click "OK" to apply the changes.
Method 2: Using a Table
Another way to create a yes/no dropdown in Excel is by using a table.
- Create a new table with two columns: "Yes" and "No".
- Select the cell where you want to create the dropdown list.
- Go to the "Data" tab in the ribbon and click on "Data Validation".
- In the "Data Validation" dialog box, select "List" from the "Allow" dropdown menu.
- In the "Source" field, select the range of cells that contains the "Yes" and "No" options.
- Click "OK" to apply the changes.
Method 3: Using a Named Range
You can also create a yes/no dropdown in Excel by using a named range.
- Select the cell where you want to create the dropdown list.
- Go to the "Formulas" tab in the ribbon and click on "Define Name".
- In the "New Name" dialog box, enter a name for the range (e.g. "YesNo").
- In the "Refers to" field, enter the following formula:
={"yes","no"} - Click "OK" to apply the changes.
- Go back to the cell where you want to create the dropdown list and go to the "Data" tab in the ribbon.
- Click on "Data Validation" and select "List" from the "Allow" dropdown menu.
- In the "Source" field, select the named range you created earlier.
- Click "OK" to apply the changes.

Method 4: Using VBA
If you're comfortable with VBA, you can create a yes/no dropdown in Excel using a macro.
- Open the Visual Basic Editor by pressing "Alt + F11" or by navigating to "Developer" tab in the ribbon.
- In the "Visual Basic Editor", go to "Insert" menu and click on "Module".
- Paste the following code into the module:
Sub CreateYesNoDropdown()Range("A1").Validation.Add Type:=xlValidateList, _AlertStyle:=xlValidAlertStop, Operator:=xlBetween, Formula1:="yes,no"End Sub - Close the "Visual Basic Editor" and go back to the cell where you want to create the dropdown list.
- Run the macro by pressing "Alt + F8" or by navigating to "Developer" tab in the ribbon.

Method 5: Using Power Query
Finally, you can create a yes/no dropdown in Excel using Power Query.
- Go to the "Data" tab in the ribbon and click on "From Table/Range".
- Select the cell where you want to create the dropdown list.
- In the "Power Query Editor", go to the "Home" tab and click on "Data Validation".
- In the "Data Validation" dialog box, select "List" from the "Allow" dropdown menu.
- In the "Source" field, enter the following formula:
={"yes","no"} - Click "OK" to apply the changes.
Conclusion
Creating a yes/no dropdown in Excel can be a great way to simplify data entry and reduce errors. In this article, we explored five different methods for creating a yes/no dropdown in Excel, including using data validation, a table, a named range, VBA, and Power Query. Each method has its own benefits and drawbacks, and the best method for you will depend on your specific needs and preferences.